 红蓝攻防
点击放大
OnionC2 - C2 writen in Rust & Go powered by Tor network.
项目说明
!Promo Image 1
INTRODUCTION
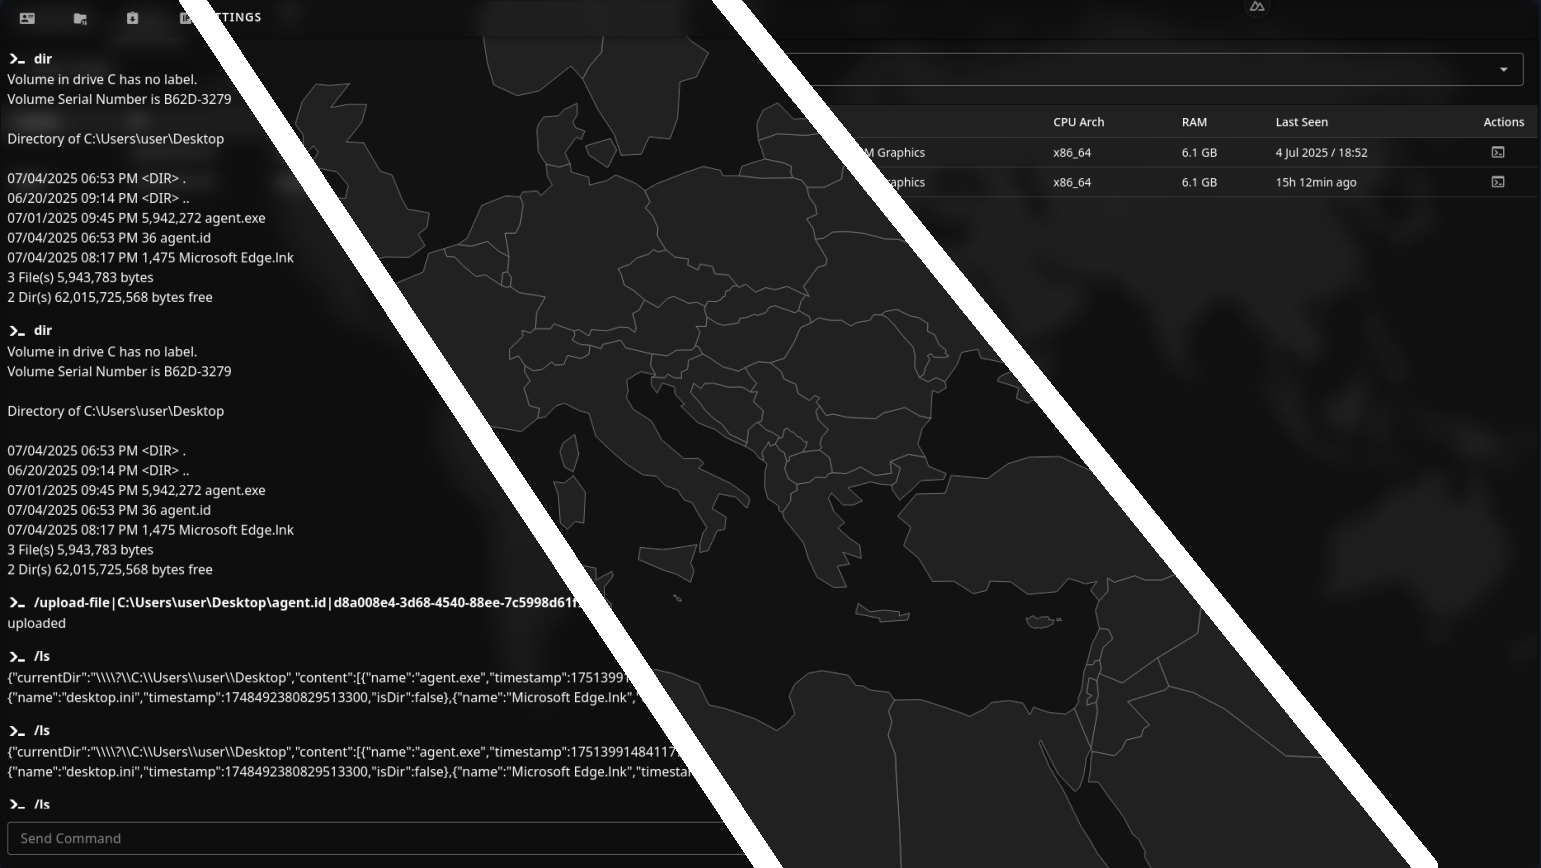
OnionC2 is a command and control (C2) framework with communications over Tor network. It's packed with privacy & security features, and operational capabilities. It is simple to setup, and has a friendly user interface. It is cross-platform and supports collaboration between operators.
AGENT'S FEATURES
WIKI
SETUP
This guide assumes you have Go, Rust, and Node ready.
Back-end Setup
Administrator Account
OnionC2 supports multiple operator accounts. In this setup guide, you'll learn how to create an o administrator account. You should use this administrator account only when required. During day-to-day operations it is recommended to use an account with less permissions.
Na to "api" directory and run the following command: go run . --create-admin --username <YOUR_USERNAME>
This command would print out your account's recovery word phrase and its private key. Save it somewhere secure, as without the private key you won't be able to authenticate with the C2 API, and without the recovery word phrase you won't be able to recover your private key in case you lose it.
API Setup
Back-end service is composed of two APIs. Agents-facing API is listening on a Unix socket, while the Operator-facing API is listening by default on port 8080. To see additional configuration possibilities run the API with "-h" argument.
To run the API na into the "api" directory an execute: go run .
This would automatically create SQLite database and perform all the needed database migrations. Also, it would create a file named "torrc", this file describes out Onion service and allows Tor to route traffic to our agents-facing API.
To run the Onion service run the following command inside of the "api" directory: tor -f torrc
Front-End Setup
Build Process & Serving The UI
First you need to build the user interface, prior to serving it, in order to do so, execute the following command inside of the "ui" directory: npm install && npm run build
This would generate static HTML/JS/CSS files in directory ".output/public"
You can ser from that directory using a web server of your choice, or use the one provided by the OnionC2 by running the following command inside of the "ui" directory: go run serve.go
Authentication
Na to the Settings page -> Authentication tab. There enter the C2's host URL, your username and the private key.
Agent Setup
All configuration related to the behavior of agents is located in a file "agent/src/config.rs". Basic configuration requires you to set at least the Onion domain in the function named "get_address". Domain of your Onion service is located in "api/onionservice/hostname".
To build an agent run the following script inside of the "agent" directory: sh build.sh
To configure persistence or any other option refer to comments inside of the "config.rs" file. It's well documented with code comments. If something isn't clear reach out to our Discord server.
SOCIAL
Patreon |
Discord |
X.com |
YouTube |
Itch.io |
GitHub
项目信息
开发语言:Vue
Star 数:161
技术要点
该项目属于红蓝攻防方向的开源资源,代码结构清晰,适合安全研究人员学习参考。项目围绕C2 writen in Rust & Go powered by Tor network.展开,提供了可运行的实现,对理解相关安全机制、工具原理与攻防技术具有较高的研究价值。
从技术实现角度看,此类项目的核心在于对底层原理的深入理解与工程化落地。开发者在研究过程中可以结合官方文档与社区讨论,梳理项目的初始化流程、核心模块职责与数据流转,逐步掌握其中的技术细节与设计思路。
使用与学习建议
1. 下载源码压缩包,解压到本地环境。
2. 根据项目类型准备对应的运行环境与依赖。
3. 按照 README 中的步骤完成配置与部署。
4. 在隔离的测试环境中运行验证,避免影响生产系统。
免责声明
本资源来源于开源社区,仅供安全研究、技术学习与合法授权范围内的攻防演练使用,请勿用于任何非法或侵害他人权益的用途。使用本项目产生的一切后果由使用者自行承担。
| 资源标题 | OnionC2 - C2 writen in Rust & Go powered by Tor network. |
| 所属分类 | 红蓝攻防 |
| 发布作者 | admin |
| 发布时间 | 2026-10-06 00:48:52 |
| 下载权限 | 免费下载 |
| 附件数量 | 2 个下载链接 |
| 浏览次数 | 262 |
| 讨论数量 | 0 |
| 主题状态 | 正常讨论中 |